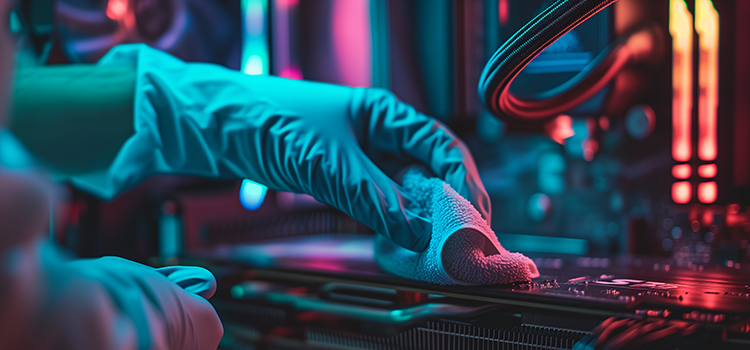
Owning a gaming PC is a commitment to experiencing the pinnacle of interactive entertainment. These sophisticated machines, built with high-performance components, offer unparalleled gaming experiences but require regular maintenance to keep them running smoothly and efficiently. This detailed guide provides you with the essential care and maintenance tips to ensure your gaming PC continues to offer the best gaming experience possible.
- Dusting: The First Line of Defence Against Overheating
The internal environment of a gaming PC can become a magnet for dust and other particulates, which, over time, can significantly impact performance and longevity. Critical for maintaining optimal operating temperatures, the cooling system is particularly susceptible to dust buildup.
Understanding the Dusting Process
To effectively remove dust, it’s essential to use the right tools. A can of compressed air is the most commonly recommended method for dislodging dust from hard-to-reach areas. Electric air dusters offer a reusable alternative for those concerned about sustainability or cost over time. It’s crucial to avoid using a vacuum cleaner inside your PC due to the risk of electrostatic discharge (ESD), which can cause irreparable damage to sensitive components.
Step-by-Step Guide to Thorough Dusting
Before you begin, ensure the PC is unplugged and positioned where dust dispersal won’t cause issues. Safety precautions include wearing a mask to avoid inhaling dust and keeping sensitive eyes and pets away from the area.
While full disassembly is unnecessary for a thorough cleaning, removing key components like the graphics card, RAM, and storage drives allows for more comprehensive access and cleaning. It’s advisable to proceed cautiously if you remove more complex components like the CPU heatsink.
Power Supply Unit (PSU) Cleaning
The PSU is another area prone to dust accumulation. However, due to high-capacity capacitors, opening the PSU is not recommended; instead, direct compressed air is used through its external vents to clear dust.
Cleaning Your Gaming Environment
Extending the cleaning to the area surrounding your gaming PC can significantly reduce dust reintroduction. A detailed vacuuming session around the PC’s location will improve the gaming setup.
- Thermal Compound Replacement: Ensuring Optimal Heat Dissipation
Thermal paste is critical in heat management within a gaming PC. It facilitates effective heat transfer from the CPU to the heatsink. Over time, however, this compound can degrade, leading to reduced efficiency and increased temperatures.
When to Replace Thermal Compound
Monitoring core temperatures under load can indicate when to replace the thermal compound. A temperature increase compared to previous benchmarks suggests the compound’s effectiveness has diminished.
The Replacement Process
Carefully remove the heatsink from the CPU, taking care not to exert undue pressure on the CPU itself. Cleaning the CPU and heatsink surfaces with 99% isopropyl alcohol prepares them for the new compound. Apply a small, rice-grain-sized amount of thermal paste to the CPU, ensuring not to overapply.
- Keyboard Maintenance: Enhancing Your Control
The keyboard is an integral part of the gaming experience and a significant collector of dust and debris. Regular cleaning maintains its appearance and functionality.
Deep Cleaning Your Keyboard
Start by removing all keycaps, paying special attention to larger keys like the spacebar and shift keys, which may have multiple attachment points. Soak the keycaps in soapy water or a specialised cleaning solution to remove accumulated grime.
With the keycaps removed, use compressed air to blow dust out of the keyboard’s body. Follow up with cotton swabs dampened in rubbing alcohol to clean between the keys and on the surface. This thorough cleaning ensures your keyboard remains responsive and pleasant to use.


Comments